Estimate fish finder battery runtime and build a safer kayak electronics circuit with correct voltage, usable capacity, fusing, wire, and connectors.
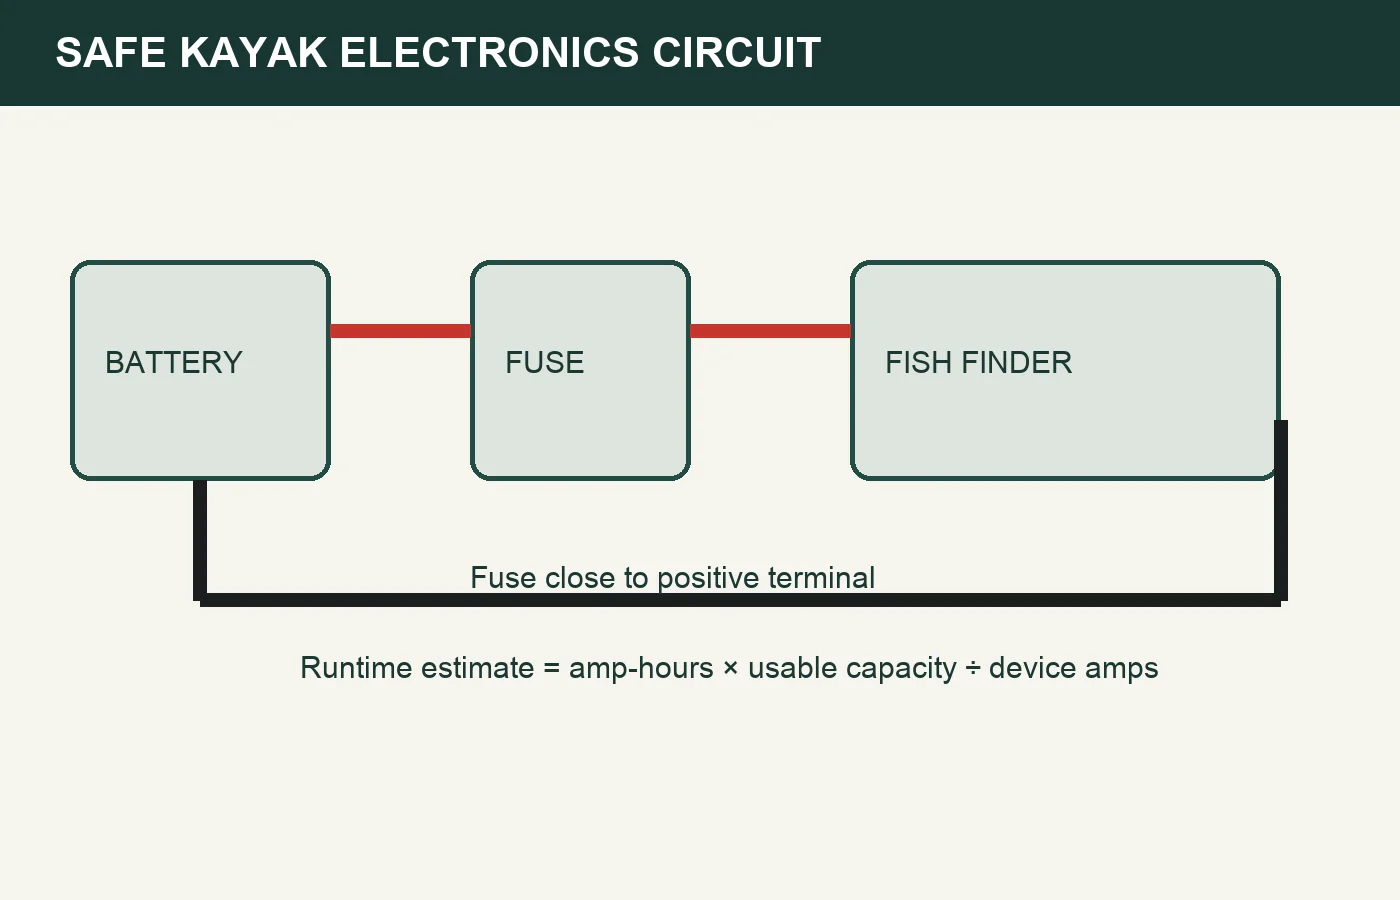
Quick answer: Estimate kayak fish finder runtime with battery amp-hours × usable-capacity percentage ÷ average device amps. Then add a safety margin for cold weather, battery age, screen brightness, accessories, and conversion losses. Wire the unit on a dedicated fused circuit with marine-grade conductors, protected connections, strain relief, and a battery secured against movement.
Reviewed: August 28, 2026 | Evidence: DOCUMENTED electrical principles plus EDITORIAL ASSESSMENT. Runtime outputs are estimates, not measured claims for a particular battery or fish finder.
Kayak fish finder battery runtime calculator
Estimate only. Enter the nominal system voltage, battery capacity, average device draw from the manual, and the portion of rated capacity you are willing to use.
Estimated runtime: 10.0 hours
Voltage is shown because it must match the device and battery system. For a direct 12-volt load measured in amps, voltage does not change the amp-hour calculation. If a manual gives watts instead, estimate amps as watts ÷ volts before using the calculator.
The default values are examples only. Replace device draw with the current listed in the exact manual, or measure average current with appropriate equipment. Displays rarely draw their stated maximum every minute, but assuming an unverified low average can leave you without navigation or sonar before the return trip.
Understand amp-hours, watts, and usable capacity
- Amp-hours (Ah) describe charge capacity at stated test conditions.
- Amps (A) are the current the fish finder and accessories draw.
- Watts (W) equal volts × amps.
- Usable capacity is the portion of rated capacity included in the plan.
A nominal 10 Ah battery at 80% usable capacity provides 8 Ah for planning. At an average 0.8 A draw, the simple estimate is 10 hours. It is not a guarantee: capacity changes with temperature, age, discharge rate, battery-management behavior, wiring loss, and the difference between average and maximum device draw.
Lithium versus sealed lead-acid
| Factor | LiFePO4 | Sealed lead-acid / AGM |
|---|---|---|
| Weight | Usually lower for similar rated capacity | Usually heavier |
| Voltage curve | Often holds voltage flatter before battery-management cutoff | Voltage declines more gradually under load |
| Usable-capacity planning | Follow manufacturer discharge and BMS limits | Conservative discharge can improve cycle life |
| Charging | Use a charger approved for the exact chemistry and battery | Use a charger with the correct lead-acid profile |
| Cold conditions | Charging restrictions may apply below freezing | Capacity still falls in cold weather |
Do not select chemistry from a generic runtime table. Read the battery data sheet for rated capacity, operating temperature, charging limits, terminal torque, and built-in protection. A battery-management system is valuable protection, but it does not replace a branch-circuit fuse or careful installation.
Safe wiring sequence
- Read the fish finder manual. Confirm input-voltage range, fuse rating, cable requirements, and connector orientation.
- Choose the battery and enclosure. Match chemistry, capacity, charger, and trip length. Secure the battery so a capsize cannot turn it into a moving weight.
- Place overcurrent protection near the source. Install the manufacturer-specified fuse in the positive conductor as close to the battery as practical. The fuse protects wiring from fault current; it is not optional because the display has an internal protection circuit.
- Route a dedicated two-conductor circuit. Keep it clear of pedals, hatch edges, rudder lines, sharp bends, and wet storage that will abrade connectors.
- Use marine-suitable wire and terminals. Select conductor size for current, length, allowable voltage drop, and the device manual. Seal terminations with properly crimped heat-shrink connectors or the specified waterproof system.
- Add strain relief and a service loop. Connectors should not carry cable weight or take the force of hatch movement.
- Test before launch. Verify polarity and voltage with a meter, install the fuse last, power the unit, and move every cable through its normal range.
Fuse sizing without guesswork
Use the fuse type and rating specified by the fish finder manufacturer unless a qualified design requires something more conservative. A much larger fuse may allow the wire or device cable to overheat before opening. A much smaller fuse can nuisance-trip during startup. The conductor must also be able to carry the protected current.
Blue Sea Systems' circuit-protection guidance explains the source-protection principle, while the device manual controls the branch fuse for the actual unit. Do not copy a fuse size from a different display family simply because both run on 12 volts.
Wire gauge and voltage drop
Small displays draw modest current, but kayak runs often include extra cable, detachable connectors, and compact battery boxes. Every connection adds resistance. Size both positive and negative conductors for the round-trip length and acceptable voltage drop. If the manufacturer supplies an unmodified power cable, preserve its required fuse and do not cut away components without documentation.
Symptoms of a weak circuit include rebooting at high brightness, intermittent shutdown in waves, corrupted sonar when another load starts, heat at a connector, or visible green corrosion. Diagnose the circuit instead of assuming the battery capacity is too small.
Waterproofing: aim for serviceable, not permanently buried
- Use connectors rated for the expected wet environment.
- Keep connections above pooled water where practical.
- Support the cable on both sides of a connector.
- Use a drip loop when routing allows.
- Protect unused plugs with caps.
- Inspect for heat, looseness, damaged insulation, and corrosion before each season.
Household wire nuts, twisted-and-taped splices, and loose lighter-socket adapters are poor choices in a wet, vibrating kayak. A clean disconnect at the battery box or display makes charging and troubleshooting easier.
Planning runtime for a real trip
Add every load that shares the battery: display, sonar module, live transducer, USB converter, navigation light, or networking accessory. If current is listed individually, sum the average planning values. Keep essential lighting independent or reserve enough battery capacity that electronics cannot compromise required visibility.
For a six-hour trip, do not choose a calculator result of exactly six hours. Reserve time for launch setup, delays, the paddle back, cold conditions, and battery aging. A conservative plan may be larger capacity, reduced brightness, a separate lighting battery, or leaving nonessential accessories disconnected.
Installation checklist
- Battery voltage and fish finder input range match.
- Charger is approved for the battery chemistry.
- Battery is secured and terminals are insulated.
- Positive conductor is fused near the battery with the specified rating.
- Wire size accounts for round-trip length and voltage drop.
- Polarity is verified before installing the fuse.
- Connectors are sealed, supported, and reachable for inspection.
- Cables cannot foul the pedal drive, paddle, rudder, or emergency re-entry path.
- Runtime estimate includes every load and a safety reserve.
Related guides
Use the fish finder installation guide for display and transducer planning, then check the transducer placement guide. If you are selecting a compact system, compare kayak fish finders by documented fit. Before launch, run the kayak fishing safety checklist and keep cables clear of re-entry space.
Authoritative references
- Blue Sea Systems resources — circuit protection, conductor sizing, and voltage-drop education.
- U.S. Coast Guard Boatbuilder's Handbook — federal small-craft electrical and safety reference context.
- Exact fish finder installation manual — input voltage, fuse, cable, and connector requirements.
- Exact battery data sheet — capacity test conditions, charging, temperature, and battery-management limits.
This is educational information for a low-voltage kayak circuit. If the installation includes propulsion batteries, charging from an engine, shore power, or uncertain existing wiring, use a qualified marine electrician.
About the author
Josh is the founder and editor of The Anglers Hub. Runtime examples are transparent calculations, not claims of measured performance for an untested battery or display.
Electrical references used
- 33 CFR 183.455 — federal overcurrent-protection placement; applicability varies, so the article uses it as a conservative benchmark rather than claiming it governs every kayak.
- ABYC: What Is Voltage Drop? — full circuit length and 3% electronics guidance.
- Humminbird: Battery Runtime for Marine Electronics — amp-hour, watt-hour, load, and runtime relationships.
- Humminbird fuse and power-draw table — demonstrates why current draw and fuse size must come from the exact model.
Editor Note
Gear mentions and recommendations are independently evaluated from specifications, public product information, pricing, use-case fit, and upgrade paths unless a specific article states direct product experience.

More From The Hub
How to Read Side Imaging for Bass
Learn how returns, acoustic shadows, range, frequency, speed, and transducer setup affect what bass, baitfish, brush, rock, and grass look like.
Read More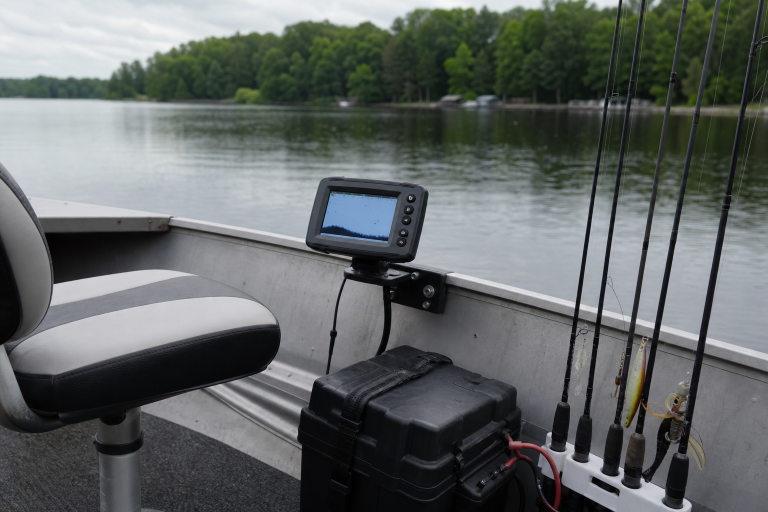
How to Choose a Fish Finder for a Small Boat
A practical small-boat fish finder guide covering screen size, sonar, GPS, mounting, power, and budget decisions before you buy.
Read More
Kayak Fishing Safety Checklist: What to Rig Before You Launch
A repeatable kayak fishing safety checklist covering PFDs, float plans, weather, re-entry, anchoring, electronics, and pre-launch checks.
Read More